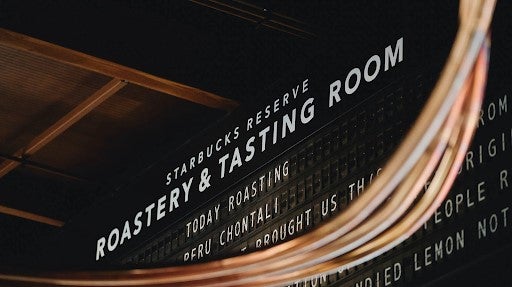
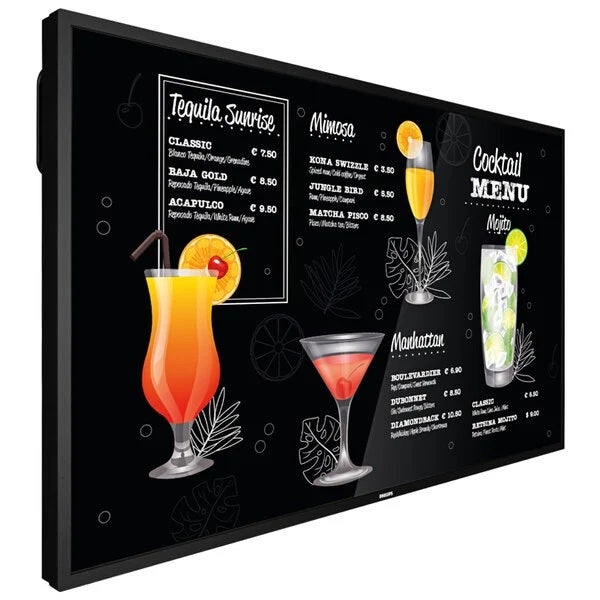
Restaurants, groceries, cafes, and other businesses can leverage digital menu boards—monitors or TVs that use software to display relevant product information—to drive sales, communicate with or direct customers, and advertise products easily and transparently. They are a high-impact way to grab a guest’s attention.
The screens themselves can be pricey—ranging from $400 to $2,500 ($3,000–$5,000 for premium screens)—but the ongoing cost for software can be as low as $10 per month. Some boards may even come with software included, dependent on an upfront fee at the time of purchase. Alternatively, you may be able to purchase a digital menu display via your point-of-sale (POS) provider, which may also include training on how to use the POS and display system.
With advances in smart TVs and streaming devices, it has never been easier to set up digital menu boards and displays. If you’re thinking about adding some to your shop, here’s the easiest way to do it:
1. Gather Your Hardware
Televisions and media players have come a long way in recent years, and most small restaurants and retailers can piece together a digital display system easily. All you need is a screen, a compatible digital signage player, mounting hardware, and cords to connect these components. Some boards will come with the signage player and required equipment to get started so be sure to shop around.
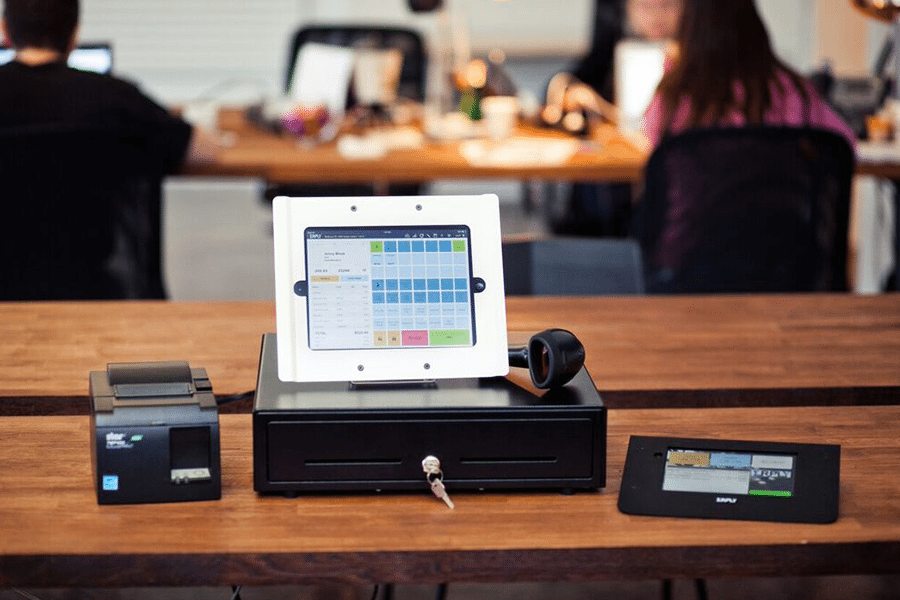
Most small business point-of-sale (POS) systems have options for integrated menu displays. If you use a POS system, check with your provider for integrated options.
2. Choose Your Software
For the most straightforward, do-it-yourself menu boards, you can’t go wrong with one of the many software options that work on a Firestick or USB thumb drive. SignPresenter and ScreenCloud are popular options that include an easy-to-navigate, cloud-based design dashboard and several pre-loaded templates. Folks who use a simple USB drive setup can use DSMenu’s free design tools to create simple, static menu images (dynamic menus with animated functions require an annual subscription).
Most digital sign software providers support many different business types, from restaurants to doctor’s offices. However, a few specialize in specific industries like real estate or specific display styles like large-scale video walls or outdoor digital displays.
3. Create Menus & Playlists
If you have design experience or a designer working for you to create menus and other content for your digital menu, you can upload your own images, menus, and other information to the software. Alternatively, most digital signage platforms have a gallery of images and content widgets to help you create dynamic images, animation, or even videos to enliven your displays.
If you lack the administrative bandwidth to design displays yourself, you might prefer to work with a platform like Reach, which includes design services for subscribers. Alternatively, you could hire a freelance designer from Fiverr or Upwork to create templates you can reuse.
Decide What Media to Display
Most digital sign players have several content widgets to choose from. Beyond simple menus, you can display trivia questions, videos, weather forecasts, or maps to local attractions. You can present a single static image or add several images in a playlist that will scroll through current specials, sales, or other promotions.
Another current trend is the ability to share videos of how recipes or dishes can be made. There is also room for bigger brands to explore celebrity chefs or influencers to show up on these boards to support and help move certain products. Lastly, restaurants may use the signs to give comprehensive wait times so guests know exactly how long food will take.
Understand Menu Styles
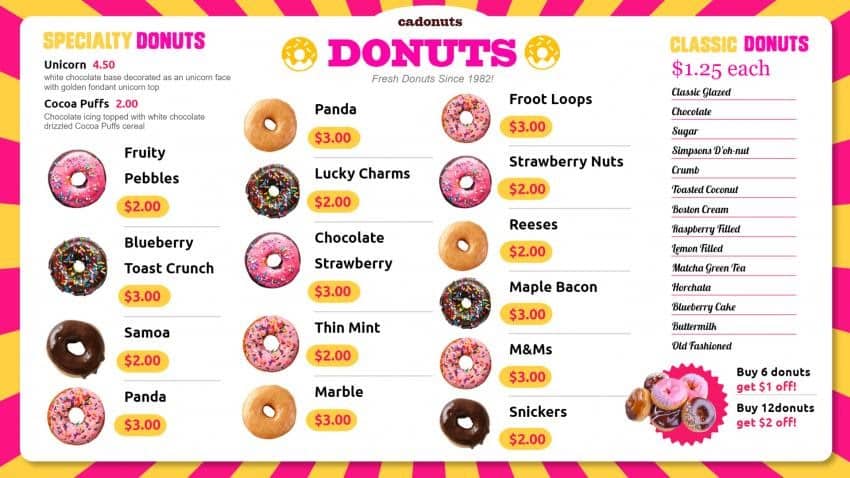
The beauty of a digital menu board is that you can use bright colors and eye-catching graphics to capture your customers’ attention and guide them through your menu. Various menu formats may be best depending on your service style and business type. Choose the digital menu that shows off your food while clearly communicating your menu prices.
4. Mount Your Screen
With your hardware in hand, you’re ready to mount your screens to the wall. Before you grab your level and power drill, you should find the ideal location for your screens. Sure, you want your digital menus to be visible in high-traffic areas where your customers can see them. But there are a few more variables to consider.
Find the Ideal Location
In addition to being placed in a customer-facing location, your digital menu boards should be placed:
- Near electrical outlets. Your screens (and sometimes your sign player, too) will need to be plugged in to electricity. You’ll want to place your screens within 3 to 6 feet of a grounded wall outlet.
- Near a Wi-Fi signal. If you use a USB thumb drive, this won’t be an issue. But most digital sign players operate via the cloud. To ensure your content reliably shows up on your displays, you’ll need to have a stable internet connection.
- Away from glare. Light fixtures and light from windows can cause glare on your screens. You can reduce this by purchasing anti-glare screens, moving light fixtures, or adjusting your screens’ tilt.
- Away from heat and water. Restaurants and other service businesses should be mindful of the temperature near their screens. Water and steam are also a concern.
- In a stable wall. Mounting your screen to wall studs is the most stable setup. Brick or concrete is also good (though it may require specialized tools).
Depending on your shop’s layout, mounting your screens from a ceiling or soffit may make the most sense. Or for window displays, poles that attach to the floor and ceiling might make the most sense. The slideshow below illustrates several mounting options to help you make the best choice for your business.
Tip: If your screen location is more than 6 feet from an electrical outlet, call an electrician to wire a new plug. You might be tempted to rely on extension cords, but that can be a fire and trip hazard.
When to Call Professionals
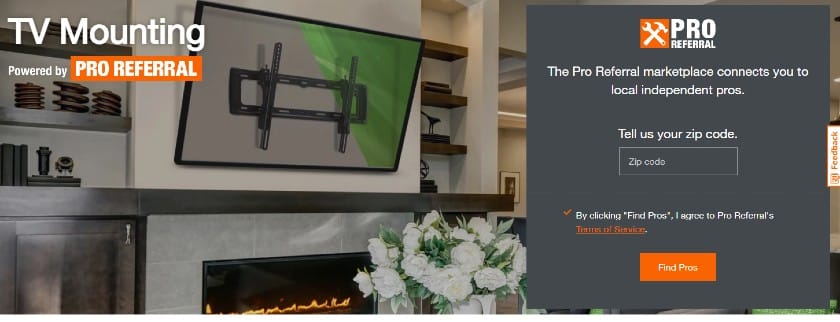
Smart TVs are getting lighter every year, but they are still expensive, sensitive equipment that can do some real damage if they fall. If you are even the slightest bit stressed about installing screens yourself, call a licensed professional. If you buy your screens from a big-box retailer like Best Buy or Home Depot, you can use their referral tools to find a local, independent installation technician. These professionals tend to focus on basic wall-hanging installations; you may need to shop around for more complex, ceiling-hung installations.
All of the large-scale digital sign platforms like Samsung and Peerless-AV provide professional installation for a fee. Rates will vary depending on the complexity of your installation. When hiring a professional installer, it is important to ensure that your technicians are licensed and insured. Using an unlicensed installer may violate the terms of your lease or liability insurance or void hardware warranties.
Also, note that having someone come out can help you learn all of the features available to you. To get the most out of your purchase, be thorough with your technician on what exactly can be done for your digital signage.
Digital Menu Board Costs
Clearly, there are a few different costs associated with digital menu boards. Most small businesses can expect to pay about $500 to $3,000+ (higher-end screens, of course, can boost that price even more) for a single digital menu board with all its necessary components and installation. The biggest cost variance comes from screen choice.
Here’s what you can expect when purchasing digital menu boards and associated software:
- Media player: Pricing for a media player can vary wildly, depending on the brand, amount of memory, and whether you purchase it directly from a provider or a third party; costs range from $40 to $300 each. In most cases, you’ll need one media player per screen.
- Screens: Costs will vary depending on the brand, specifications like LCD or LED, size, and bulk discounting; costs range from $400 to $2,500 ($3,000–$5,000 for premium screens) each for 43-inch to 65-inch displays.
- Software: Cloud-based software comes with a monthly fee, and some require a contract; typical prices range from around $8 to $30 per month, per screen. Some platforms that cater to small businesses also offer free basic subscriptions.
- Peripherals: Mounting hardware is unavoidable, and prices range from around $30 for a basic, flat wall mount up to $550 for a complex ceiling mount. If you need to boost your Wi-Fi signal, antennas and mobile access points range from $50 to $350 each.
- Installation: Depending on the complexity of your setup, and whether or not you need to wire new electrical outlets, your installation costs can vary from around $300 to over $1,500.
Implementing digital signage can be an affordable upgrade from the paper or plastic sign solution you have now. If you’re outfitting your space with multiple screens, it could be a sizable investment (full-scale, multiscreen installation averages around $12,000), but you’ll be saving on printing and design services and have increased potential for upsells.
Did You Know?
Although we haven’t found many recent studies on the ROI of digital displays, several historical studies support their usage, showing that:
- Stores or restaurants can find digital displays bring a higher return on investment within 24 months
- 80% of grocery stores that used digital signs experienced up to a 33% increase in sales
- Digital signage increases the average purchase by 29.5%
Another great effect digital signs can have is on attracting and hiring new talent. According to a 2021 study by Nielsen, 46% of people ages 18 and older have searched online after spotting an OOH (out-of-home) promotion. With staffing in the restaurant industry still down 3.6% from before the pandemic, this competitive edge will help any business get their job openings noticed.
Pros & Cons of Digital Menu Boards
When it comes to the pros and cons of digital menu boards, the positives stack up quickly. Using a digital menu board can help drive sales, they’re more convenient, and you can display calorie counts easily, which is required in some cases. Yes, it’s a pricier option than print, but it’s an investment that will likely pay off within a year.
pros
cons
- Increases upsells
- Digital menus can be updated quickly if prices or offerings change
- Can display complex information
- Upfront costs can be high
- Many systems require internet access
Here are the pros of going green and getting a digital menu board:
- Drive sales: An overwhelming majority (over 86%) of restaurants noticed an uptick in sales after they installed digital signage.
- Customer engagement: Most retailers (94%) have used digital signage to augment, change, or improve in-store customers’ experiences.
- Convenience: Printed menu boards can be difficult to change, and you have the time factor to consider; a digital menu can change as often as you’d like, and it’s as easy as filling out forms online.
- Timesaver: Spend less time changing menus, ordering menus, and waiting for them to be delivered.
- Nutritional info: It’s far easier to display nutritional information on your food menus with a digital menu board; if you make any changes to a menu item, you won’t have to reprint a menu with the new calorie count.
- Post-COVID Use: With diners being more willing to dine outdoors, digital signage is a great way to ensure that communication with your guests continues outside of the four walls of your establishment.
- New Way to Advertise: Digital menu boards can also be revenue generators, as sponsors or businesses can use space on your boards to run ads or other forms of advertisement.
The negatives of introducing a digital menu board are fewer, such as:
- Cost: To get started with digital menu boards, you’ll have to spend a sizable amount for TVs or monitors and media players, and you’ll have an ongoing monthly fee. Plus, if you want professional photos or graphics, you’ll have to hire talent.
- Outages: If your internet connection goes out, your menus are down; it’s a good idea to have a mobile hot spot ready to go as a backup, but this could come with extra costs as well.
Last Bite
Digital menu boards are highly effective tools to communicate different parts of your business to the outside world. They are great ways to showcase nutritional information, product images, pricing, and any other content you’d like to share with customers—or even potential employees. Although the upfront cost may seem like a lot, studies do show that these menus can pay off within just a few years. You can get started with your own digital menu just by following the four simple steps outlined in this article.

